A Guide Enable Remote Desktop Protocol in Windows Server 2019. RDP is a powerful tool that allows users to access and manage Windows servers remotely, providing flexibility, convenience, and efficiency in server administration. In Windows Server 2019, enabling RDP is a straightforward process that unlocks a world of possibilities for system administrators, IT professionals, and remote workers alike. In this comprehensive guide, we’ll explore the steps required to enable RDP in Windows Server 2019, empowering users to harness the full potential of remote desktop connectivity.
Understanding Remote Desktop Protocol (RDP):
Before diving into the process of enabling RDP, it’s essential to understand the role and functionality of Remote Desktop Protocol. RDP is a proprietary protocol developed by Microsoft that enables users to connect to and interact with remote Windows-based computers or servers over a network connection. By leveraging RDP, users can access the graphical user interface (GUI) of a remote server, execute commands, transfer files, and perform administrative tasks as if they were physically present at the server console.
Enable Remote Desktop Protocol in Windows Server 2019:
Enabling RDP in Windows Server 2019 is a straightforward process that can be accomplished through the Server Manager or PowerShell. Follow these step-by-step instructions to enable RDP:
- Server Manager Method:
- Launch Server Manager by clicking on the Windows Start button and selecting “Server Manager” from the menu.
- In the Server Manager dashboard, click on “Local Server” in the left-hand navigation pane to view the server properties.
- Locate the “Remote Desktop” section in the server properties window and click on the “Disabled” link next to “Remote Desktop.”
- In the Remote Desktop dialog box, select the option to “Allow remote connections to this computer” and click “OK” to apply the changes.
- If prompted, confirm your action by clicking “OK” again, and RDP will be enabled on the server.
- PowerShell Method:
- Launch PowerShell with administrative privileges by right-clicking on the Windows Start button & selecting “Windows PowerShell (Admin)” from the menu.
- In the PowerShell window, type the following order and press Enter:
Set-ItemProperty -Path ‘HKLM:\System\CurrentControlSet\Control\Terminal Server’ -Name “fDenyTSConnections” -Value 0 - This command modifies the registry value to allow remote desktop connections to the server.
- Once the command executes successfully, RDP will be enabled on the server.
Configuring Remote Desktop Settings:
After enabling RDP, it’s essential to configure remote desktop settings to ensure a secure and seamless remote access experience. Consider implementing the following best practices:
- Network Level Authentication (NLA):
- Enable Network Level Authentication (NLA) to enhance security by requiring users to authenticate before establishing an RDP session. NLA protects against unauthorized access and mitigates the risk of brute force attacks.
- Firewall Rules:
- Configure firewall rules to allow inbound RDP traffic on TCP port 3389, the default port used by RDP. Ensure that the necessary ports are open and accessible to authorized users while maintaining network security.
- User Access Control:
- Manage user access control settings to restrict RDP access to authorized users or groups. Utilize Active Directory groups or local user accounts to grant permissions and control remote desktop access effectively.
- Remote Desktop Gateway (RD Gateway):
- Consider deploying Remote Desktop Gateway (RD Gateway) to provide secure remote access to internal network resources via RDP over HTTPS. RD Gateway enhances security by encrypting RDP traffic and authenticating users before granting access to remote desktops.
Testing Remote Desktop Connectivity:
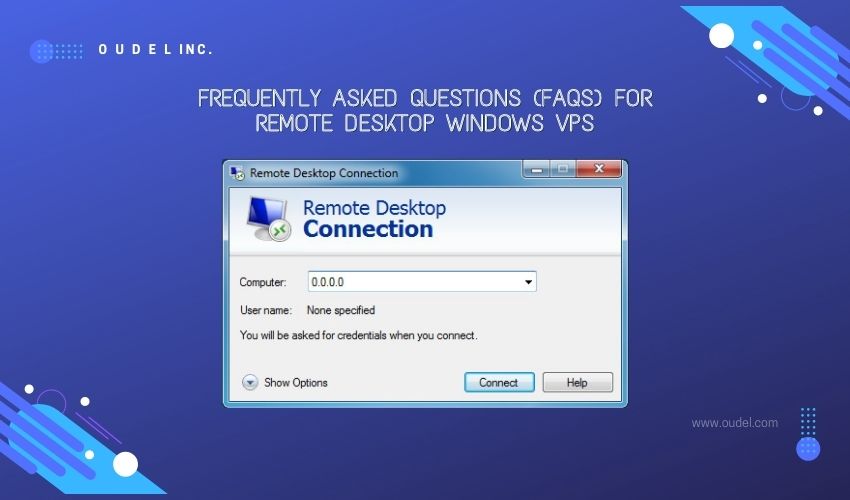
After enabling and configuring RDP, it’s crucial to test remote desktop connectivity to verify that the settings are applied correctly and users can establish remote connections to the server. Use a remote desktop client such as Remote Desktop Connection (RDC) or a third-party RDP client to connect to the server using the server’s hostname or IP address.
Conclusion:
Enabling RDP in Windows Server 2019 empowers users to remotely access and manage servers with ease, efficiency, and security. By following the steps outlined in this guide and implementing best practices for remote desktop connectivity, users can unlock the full potential of RDP and streamline server administration tasks. Whether managing servers in a corporate environment, providing remote support, or accessing critical resources from anywhere in the world, RDP in Windows Server 2019 offers unparalleled flexibility and convenience for modern IT professionals.


