How to installing Windows RDP on Kamatera VPS for free. In today’s digital landscape, remote connectivity plays a pivotal role in enabling productivity and efficiency. Kamatera, a leading cloud infrastructure provider, offers robust Virtual Private Servers (VPS) that empower users with the flexibility to deploy Windows-based environments for various purposes. One of the standout features of Kamatera’s VPS offerings is the ability to install Windows Remote Desktop Protocol (RDP) for free. In this comprehensive guide, we will walk you through the process of setting up Windows RDP on a Kamatera VPS, allowing you to access your Windows-based VPS from anywhere, anytime.
What is Kamatera VPS?
Before we dive into the installation process, let’s briefly explore Kamatera’s VPS offering. Kamatera provides cloud infrastructure solutions that cater to businesses and individuals looking for scalable and reliable hosting services. Kamatera’s VPSs are known for their:
- Scalability: You can easily adjust your VPS resources (CPU, RAM, storage) as your needs evolve.
- Global Data Centers: Kamatera has data centers in multiple locations worldwide, allowing you to choose a server location that best suits your requirements.
- High Uptime: Kamatera offers robust uptime guarantees, ensuring your services are available when you need them.
- Free Windows RDP: Kamatera allows you to install Windows RDP on your VPS for free, enhancing your remote access capabilities.
Now, let’s get started with the process of installing Windows RDP on your Kamatera VPS.
Step 1: Provision a Kamatera VPS
The first step in enabling Windows RDP on your Kamatera VPS is to provision the VPS itself. Follow these steps:
- Sign Up: If you haven’t already, sign up for a Kamatera account on their website (https://www.kamatera.com/).
- Log In: Log in to your Kamatera account using your credentials.
- Create a VPS: Inside your Kamatera dashboard, select “Create a Virtual Server.” You can choose the operating system, server location, and server specifications according to your needs. Make sure to select a Windows-based operating system.
- Provision the VPS: Complete the configuration process and provision your VPS. Kamatera will provide you with the necessary login credentials and access details.
Step 2: Connect to Your Kamatera VPS
After provisioning your VPS, it’s time to connect to it remotely. You can use the Kamatera Cloud Console or SSH for Linux-based VPS, but for Windows RDP, you’ll need Remote Desktop Connection. Follow these steps:
- Open Remote Desktop Connection: On your local Windows computer, open the “Remote Desktop Connection” application. You can search for it in the Windows Start menu.
- Enter VPS Details: In the Remote Desktop Connection window, enter the public IP address of your Kamatera VPS in the “Computer” field. You can find this IP address in your Kamatera dashboard.
- Connect: Click the “Connect” button to initiate the connection. You may be prompted to enter your VPS login credentials (username and password) provided by Kamatera.
- Establish the Connection: Once you enter the correct credentials, Remote Desktop Connection will establish a connection to your Kamatera VPS. You’ll now have remote access to your Windows-based VPS.
Step 3: Enable Windows RDP
Now that you have remote access to your VPS, you’ll need to enable Windows RDP to allow for multiple remote connections. By default, Windows RDP is disabled on fresh installations. Here’s how to enable it:
- Access Server Manager: On your Kamatera VPS, open the “Server Manager” application. You can find it in the Windows Start menu. Go to Local Server Settings: In the Server Manager window, click on “Local Server” in the left-hand navigation pane.
- Access Remote Desktop Settings: Look for the “Remote Desktop” option in the Local Server settings. It will likely say “Not configured.” Click on this option.
- Enable Remote Desktop: In the Remote Desktop Properties window, select the option that says “Allow remote connections to this computer.” This allows multiple remote connections to your VPS.
- Confirm Settings: Click “Apply” and then “OK” to confirm the settings.
Step 4: Configure Windows Firewall
To ensure that your Kamatera VPS allows RDP traffic through its firewall, follow these steps:
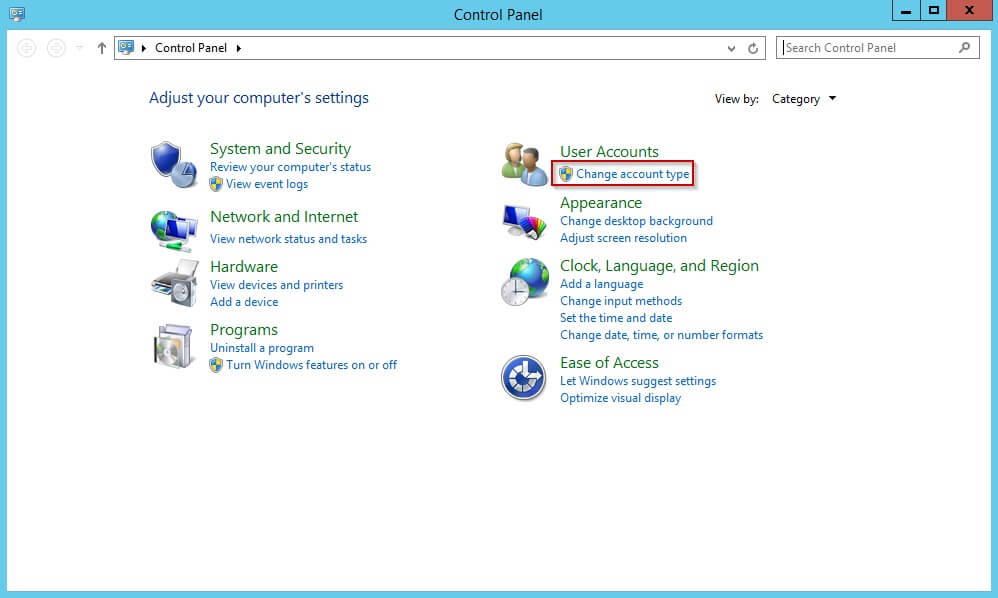
- Open Windows Firewall: In the Control Panel, search for “Windows Firewall” and open it.
- Allow RDP Traffic: Click on “Allow an app or feature through Windows Firewall.” Scroll down and ensure that “Remote Desktop” is checked for both Private and Public networks.
- Save Changes: Click “OK” to save your firewall settings.
Step 5: Connect to Your VPS via RDP
Now that you’ve enabled Windows RDP and configured your firewall, you can connect to your Kamatera VPS via RDP using the following steps:
- Open Remote Desktop Connection: On your local Windows computer, open “Remote Desktop Connection” as you did in Step 2.
- Enter VPS Details: Enter the public IP address of your Kamatera VPS in the “Computer” field, just like before.
- Connect: Click the “Connect” button. You’ll be prompted to enter your VPS login credentials.
- Connect Securely: After entering your credentials, Remote Desktop Connection will establish a secure connection to your Kamatera VPS, providing you with a Windows desktop environment that you can control remotely.
Step 6: Enjoy Your Free Windows RDP
Congratulations! You’ve successfully installed and configured Windows RDP on your Kamatera VPS for free. You now have the power to remotely manage and use your VPS as if you were physically present.
Conclusion
Setting up Windows RDP on a Kamatera VPS is a straightforward process that opens up a world of possibilities for remote access and management. Whether you’re using your VPS for hosting websites, applications, or data storage, the ability to connect remotely enhances your control and flexibility. By following the steps outlined in this guide, you can unlock the full potential of your Kamatera VPS and enjoy seamless connectivity from anywhere in the world.


